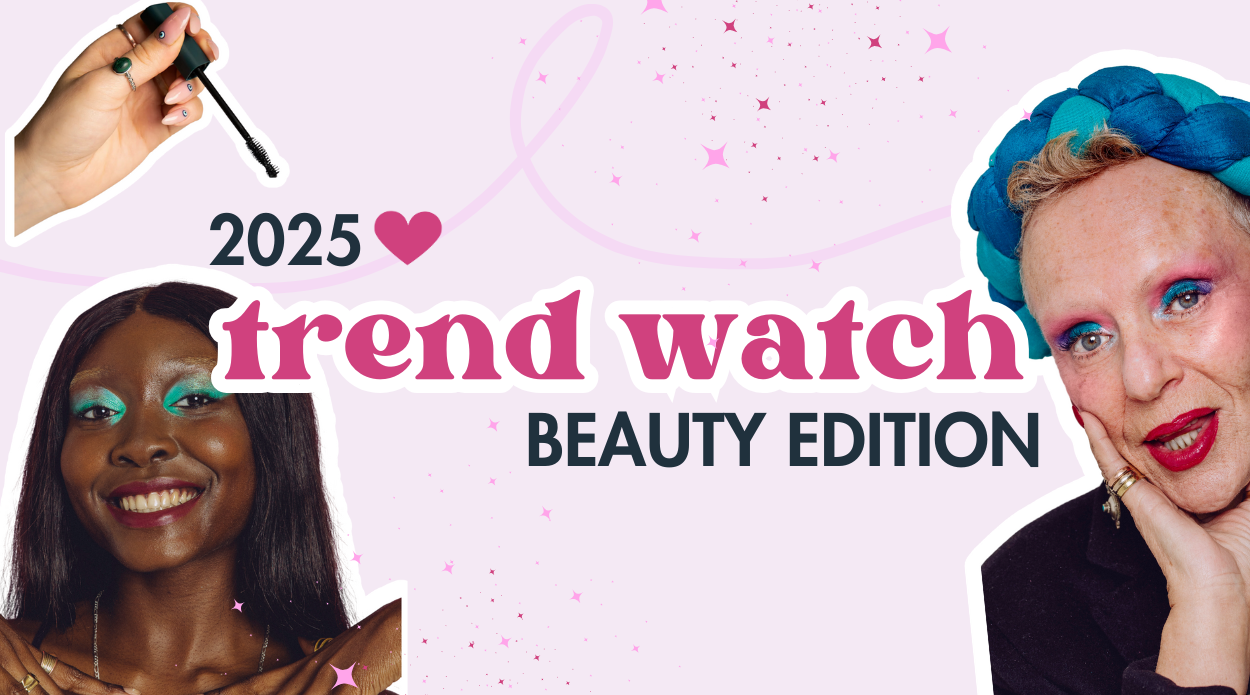
Eyeshadow can take an ordinary look and turn it into something special - whether you want a subtle everyday glam or something a little extra. A cute eye look is the perfect way to add that extra OOMPH to your makeup.
But we know applying eyeshadow can be tricky when your dexterity is limited or you’re not used to doing eye makeup. Don’t worry though, we’ve got you! There's a range of accessible eyeshadow looks that you can try out to elevate your eyeshadow game and we’re here to show you the basics.
Tutorials and GRWMs can sometimes overcomplicate eye makeup with liquid eyeliner, false eyelashes and other accessories, which makes it hard to follow the steps. So we’ve scrapped all those for today. Our tutorials are going to give you an easy guide so you can create these looks for yourself, and from there you can let your imagination run wild!
Are you ready? Let’s dive right in!
Classic and neutral
We are starting this guide off with a simple neutral look that you can rock every day. Two-toned eyeshadow is a personal favourite of our stable makeup routine.
All you'll need is a base colour and an accent colour that is a few shades darker to deepen up the base eyeshadow. You pack the base colour onto the middle of your lid and blend it upwards to your eyebrow and out towards the outer corners of your eye.
For a quick and effortless look, you can leave your eyeshadow like this and enjoy your modelesque look, or you can deepen the look with the darker shade to create more definition for your eyes. The choice is yours!
The best thing about this look is that it can be achieved with any lighter and darker shade of the same colour. If brown isn’t your vibe, you can try this technique with a ruby red or any blush colour that you would usually use for your skin tone.
Now that you have the technique down, it's time to choose the right products. For us sensitive eye babes it's crucial to make sure that the shadows we apply to our face aren't going to irritate our eyes. The Makeup Therapy Palette is made up of 16 hypoallergenic shadows and is perfect for experimenting with colour.
So if you want to go bolder, try two shades that you wouldn’t normally put together to create a whole new look. For example, Confidence and Empower from the palette would make a gorgeous two-toned eyeshadow look.Stencil Detailing
Classic neutral eyeshadow is great for everyday makeup, but what if you want to switch it up a bit? Stickers and stencils are a really easy way to do this without fiddling with liquid eyeliner. They are one of the few accessible products out there for you to use if you have trouble adding a different dynamic to your makeup. We've talked about them in a previous blog here.
@tias.mua back with my diy stencils for the stars!! #eyeshadowtutorial #eyemakeuptutorial #eyemakeup #stareyeshadow #starmakeup ♬ original sound - <3
With this look, you place the stencil wherever you want around your eye and then blend eyeshadow around it. This way you can create a shape without having to concentrate on getting your lines straight.
Take a small amount of pigment on a round fluffy brush and blend it over your stencils to create your desired look.
You can make your own stencils or buy them, and ultimately the possibilities are endless! You can have stars, hearts, lines, clouds - anything you can imagine to be a little extra with your eyeshadow look. It also works really well when placed on the outer corners of the eye, so it won’t crease throughout the day.
The stencil adds a striking dynamic to your eyeshadow with just one colour, so if your hand is feeling a bit weak or you have trouble blending eyeshadow in general, stencils are a great way to add shapes and lines to your lids with minimal effort.
A little tip: If you don’t like the feel of stickers on your face, or can’t quite get the hang of a stencil, why not use an eyeshadow pencil to lightly draw around your lids instead? It’s all of the precision of a liquid eyeliner without the mess.
Smokey Eyes
Smokey eyes are all about creating seamless transitions between two or more shades. You would traditionally see a subtle brown smokey eye or a black smokey eye for a more dramatic grunge effect, but you can pick any two shades or more that would work in a gradient.
We aren’t going to lie to you guys, this eyeshadow look takes a bit more patience and a LOT more blending than the other three, but the payoff is SO worth it!
Starting off with your base shade, place it on the centre of your lid with a fluffy brush and blend it out until the edges are soft and diffused. Smokey eyes look amazing with smooth-soft lines, so blend for your life!
Once your base shade is in place, take your second colour and use that to blend around where you put your base colour. Your goal here is to create a halo-like effect on your eyes. Keep blending until all your lines are smooth and diffused for a beautiful smokey eye look.
@hanstluce 🖤🖤🖤 #blacksmokeyeye #smokeyeye #beautybay #eyeshadowtutorial #eyeshadowlook ♬ Shut up my moms calling - Samanta
If you’re extra (like us) and really want to elevate your look, consider putting a pop of colour in your inner corner of your eye to top off the look. Maybe even create an artistic smokey look with bold shades like hot pink and bright yellow for a sunset look?
Metallic Finish
We’ve talked about mostly matte looks in this blog, but for our final tip, we wanted to get a little bit more adventurous! A little bit of sparkle can take your flat red eyeshadow into a Pinterest-worthy pin very easily
After using the techniques from the Classic and Neutral or the Smokey Eyes sections to get you a nice even base, you can go wild and add a metallic shade as a topper and add some shine to the centre of your lids. If you are like us, you might find that using your fingers is easier to put the shade exactly where you want it to go, but using a brush is just as effective.
Metallic eyeshadows are a great way to create a unique flawless look. Honestly, you can never go wrong with a bit of glitter!
You could recreate this look with our Makeup Therapy Palette using the colours Confidence and Community.
Extra Hack: Prime your eyes! Using a primer gives your eyeshadow an extra base to sit on so it doesn’t crease or move throughout the day. We recommend adding a small layer of concealer over the eyes before creating bold looks like these, so they can stay bold and intact longer.
Yay!! You made it to the end! We hope you enjoyed our easy eyeshadow tutorials and the little tips and tricks we sprinkled in along the way!
Makeup isn’t just limited to those who are experienced and gifted. We want to encourage everyone to try new techniques and learn with us. Don't be afraid to experiment! No one knows where it may lead, you might be creating the next viral makeup trend!
Keep on practising and enjoying your own makeup journey!


